My Setup:
Locally on my development machine, I have a WordPress multisite installed. I use it to develop and test WordPress themes and plugins. Also, if I create a new site for a client, I first create the site locally, in my multisite install and then carry on as usual with the customization.
My Problem:
But I hit a major roadblock every time I want to upload the site to my live server. It is a serious mission to export a single site within a mutisite install and get it working as a standalone WordPress site on my live server.
The Solution:
One magical word : BackupBuddy!
Step by Step Guide
Here is my step by step guide to exporting a single site from within a multisite install, and restoring it on your live server, as a standalone install.
1. Install BackupBuddy
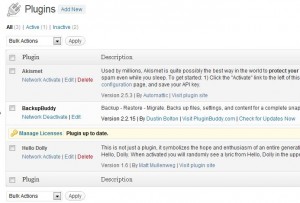
On your multisite site, upload and network activate BackupBuddy:
2. Make Final Changes
Goto the dashboard of the site you want to export and make any final changes. This includes: activating plugins, setting the theme and widgets, and changing any site settings.
3. Locate BackupBuddy Export
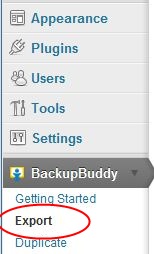
Within the admin of the site you wish to export, click the export menu item found under the BackupBuddy section:
4. Select Plugins To Export
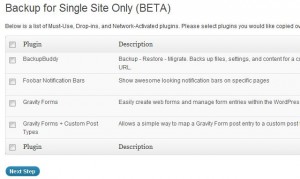
Select which plugins you want to include in the export:
5. Export Your Site
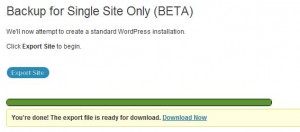
Click the export site button, wait a minute or 2 and your export is complete:
Time taken so far: about 5 mins!
A zip file is created in a “backupbuddy_backups” folder in your multisite’s upload folder. Keep note of where this file is, or copy it to another location for later use. Now let’s restore it on our live server:
6. Locate Restore Page
Go back to Network admin, and goto the Backup and Restore page under BackupBuddy:
7. Download ImportBuddy Script
Under the large Restore/Migrate button, download the latest beta version of importbuddy.php:
You need to upload this file to your server, where you wish to restore the site to.
8. Browse to ImportBuddy
Once you have uploaded it, browse to importbuddy.php on your destination server to start the restore process:
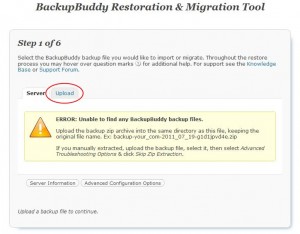
9. Upload backup ZIP
Using ImportBuddy, you can now upload the backup you created earlier. Alternatively, upload the zip file manually to your server together with importbuddy.php in step 7.
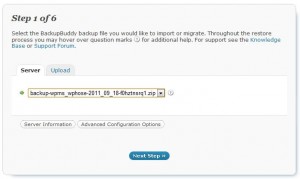
10. Start Restore Wizard
Once uploaded, you should be able to start the restore process, click “next step”:
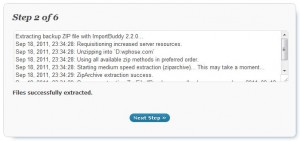
11. Backup Unzipped
The backup zip file is unzipped onto your server. click “next step”:
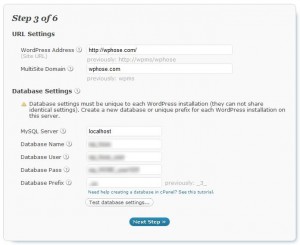
12. Enter Site Settings
Enter the new site settings, as well as the database connection settings. You should have created the database and database user previously. click “next step”:
13. Database Restored
The database is created and imported from the backup. click “next step”:
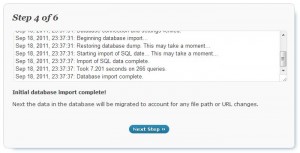
14. Data Migrated
The data is migrated to take any URL changes into account. The site is now in a working condition and it gives you a link to test it out:
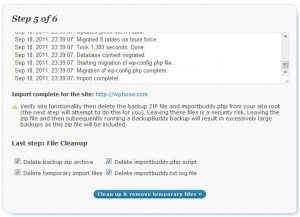
15. Clean Up
The last step is the cleanup. Leave the checkboxes checked and click “Clean up and remove temp files”
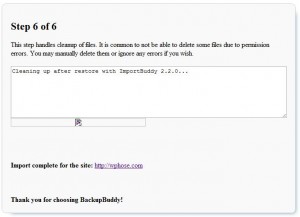
16. All Done!
All done. Your new site is migrated and working 100%. Everything has been migrated, including the database, posts, pages, users, the theme, widgets and plugins. All you need to do is login and activate your plugins.
Total time taken: less than 10 minutes. Of which most of the time was waiting for files to upload and zip.
Conclusion
BackupBuddy has taken a very manual and horrible job and made it almost effortless. Now it takes me about 5 to 10 minutes to put my sites live, where it took me hours before as I had to run scripts to rename URL’s and recreate databases from scripts etc. Get yourself a licence for BackupBuddy today. It is well worth it!
